

Faisal Salam: Hello, everyone. Thanks for joining this presentation. My name is Faisal Salam. I’m a senior storage engineer in the Customer-1 Solutions Group. I also have on the call, my colleague, Victor Ifediora. Today we are going to talk about how NetApp IT uses Ansible automation for configuration management.
Corporate IT at NetApp
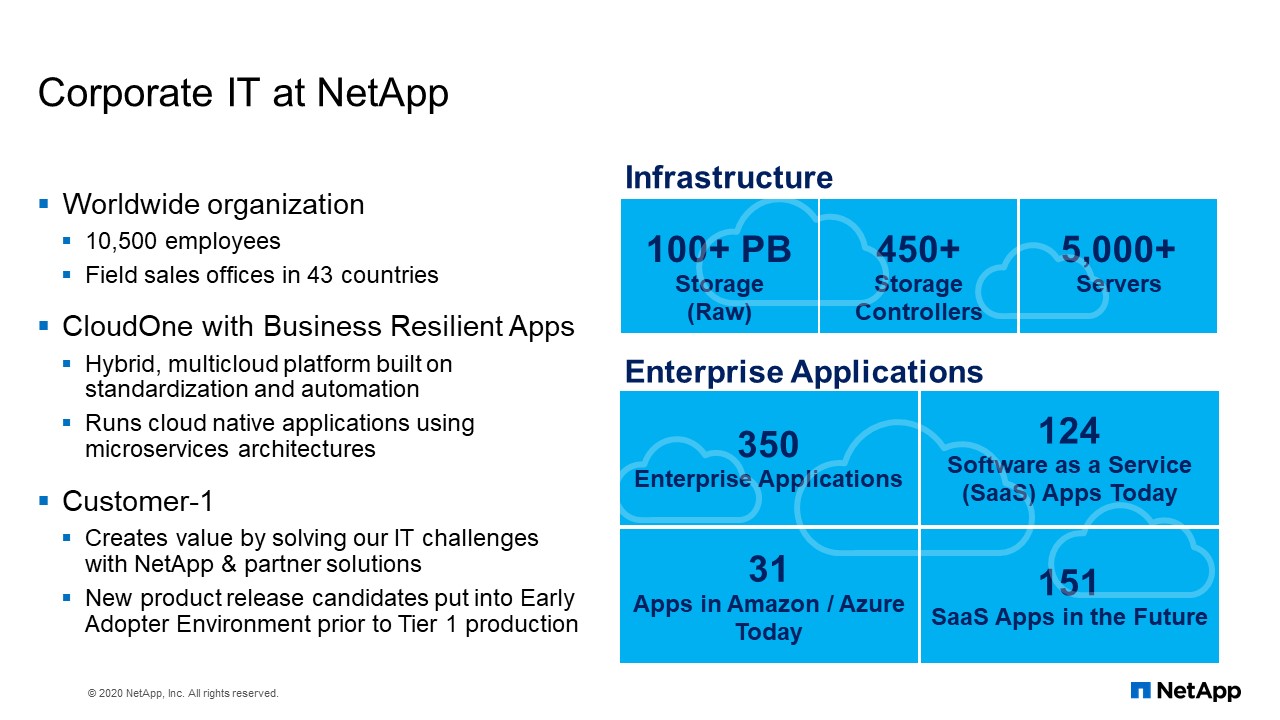
To provide an overview of the corporate NetApp IT environment, we are currently running over 100 petabytes of storage with 450 storage controllers and 5,000 servers. This infrastructure supports approximately 350 enterprise applications. Victor and I are part of the Customer-1 team inside NetApp IT responsible for the early adoption and management of NetApp technology. Today we want to share the different ways in which we are using Ansible automation to deliver consistent storage environments inside NetApp.
Use of Ansible Playbooks
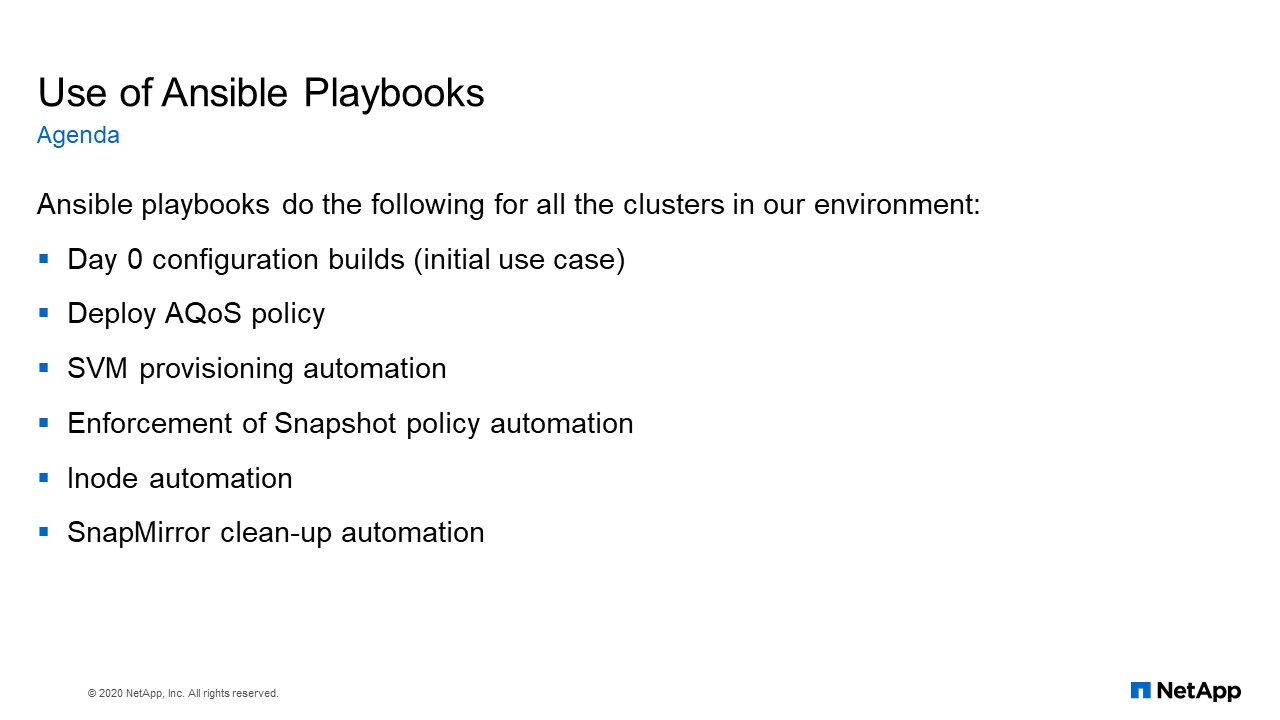
Here are some of the things we are using Ansible for today. We use it to do Day 0 storage deployments, adaptive QoS, SVM provisioning, enforcement of snapshot policies. We’re also doing inode automation and SnapMirror cleanup automation. We will go into more details on each of these topics in the upcoming slides.
Initial Use: Day 0 build configurations
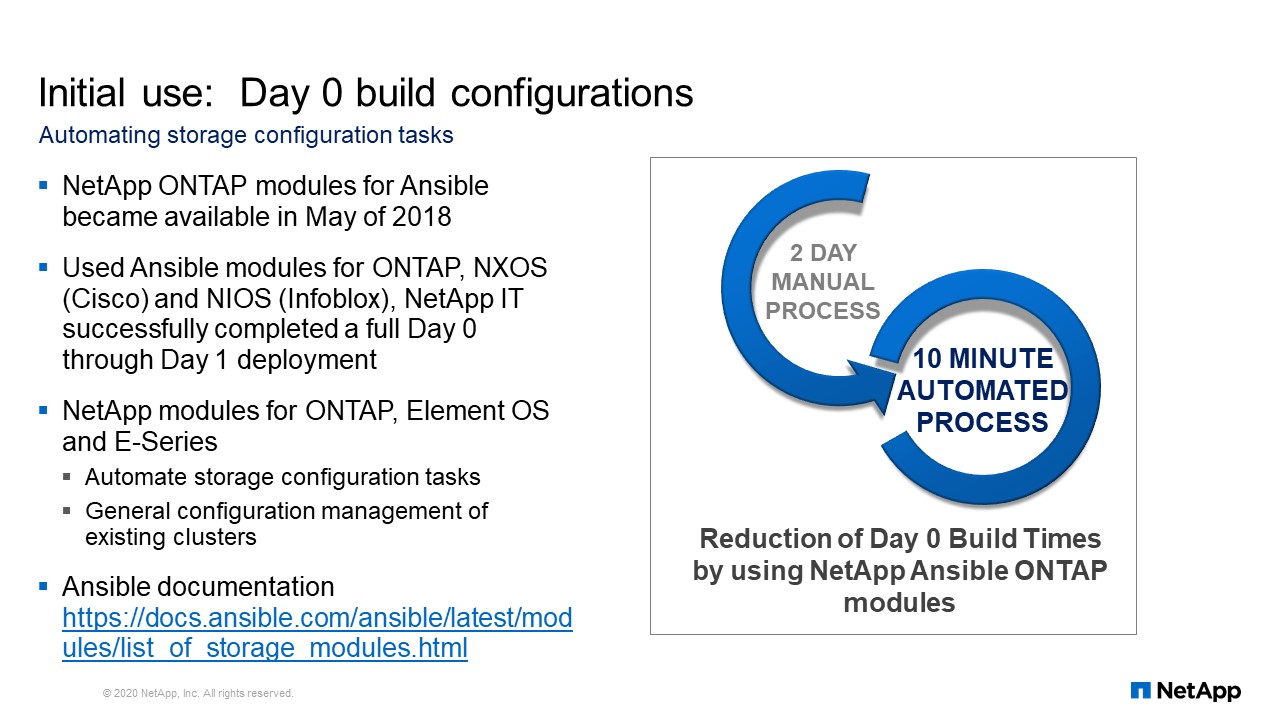
The Ansible modules we use are from NetApp for ONTAP management. We do our storage builds using the Ansible modules to fully automate our Day 0 through Day 1 deployments. For us, Day 0 means the day after the hardware is fully racked, cabled, and configured, according to the instructions on how it should look physically. Once it’s finished with Day 0, it is presented to my team and it’s turned on. Then I must make it capable of serving data as part of the Day 1 deployment activities.
Day 1 is when the filer is capable of serving data and not just sitting there consuming electricity. We must actually make it serve data and give that data over to the servers so it can be used by an application. We have been able to fully automate the entire process. Prior to using the NetApp Ansible modules, Day 0 would have been a two-day process. Using Ansible, I can do the whole process in 10 minutes. There are Ansible modules beyond ONTAP. There are modules for Element OS, which is the SolidFire operating system and also for E-Series management. You can find all documentation for that stuff at docs.ansible.com.
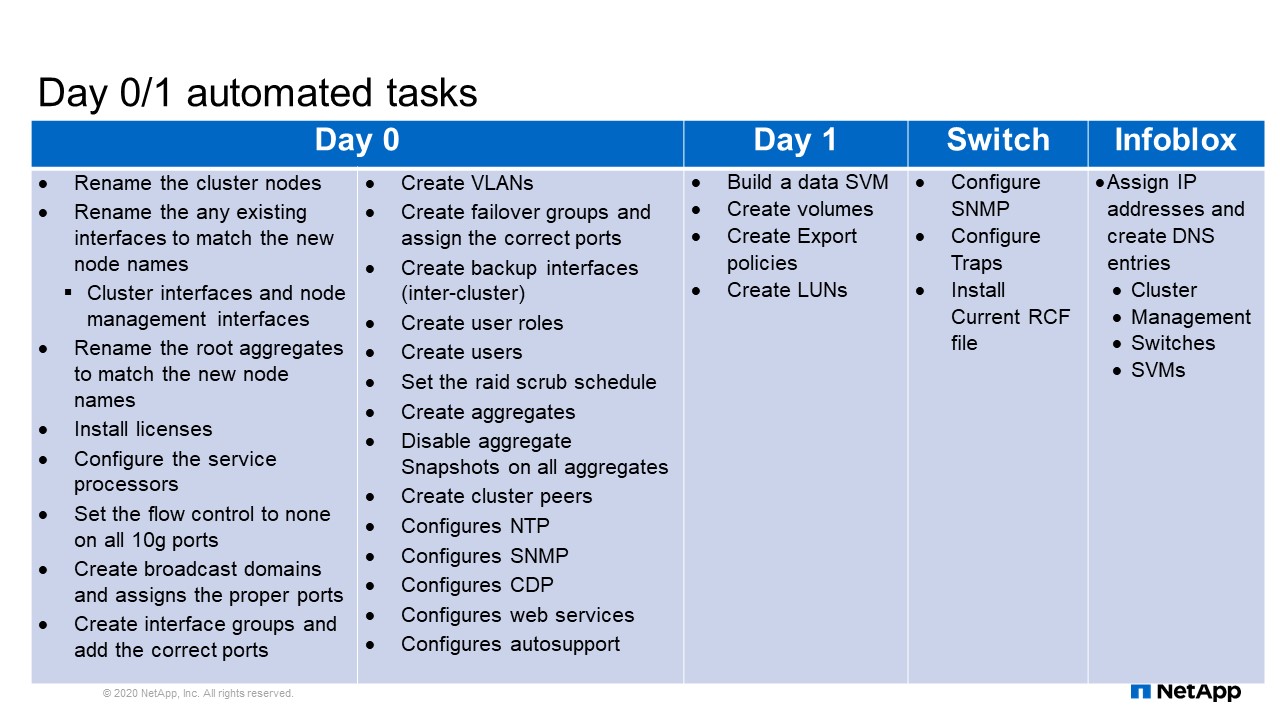
Day 0/1 automated tasks
This is the list of tasks that I complete using Ansible automation for our Day 0 and Day 1 deployment. Each one of these tasks used to take anywhere between 10 to 20 commands to complete. There were probably somewhere around 200 commands that I saved by using automation for just Day 0. Building an SVM is a time-consuming process. You must gather a lot of information and then run all those commands using the information you have. Automation eliminates the opportunity to introduce human error, typos and things like that. One of the main reasons we chose to automate these tasks is to remove the risk of human error and making mistakes. Also you gain back time that can be used for other value added activities. For example, you start configuring and then you get an interruption causing you to stop. Later then you have to figure out where you left off so there’s a lot of wasted time trying to figure out where you were or search for some information to run a command, or things like that. If you can automate it all, you just kick it off, walk away, come back, and it’s done.
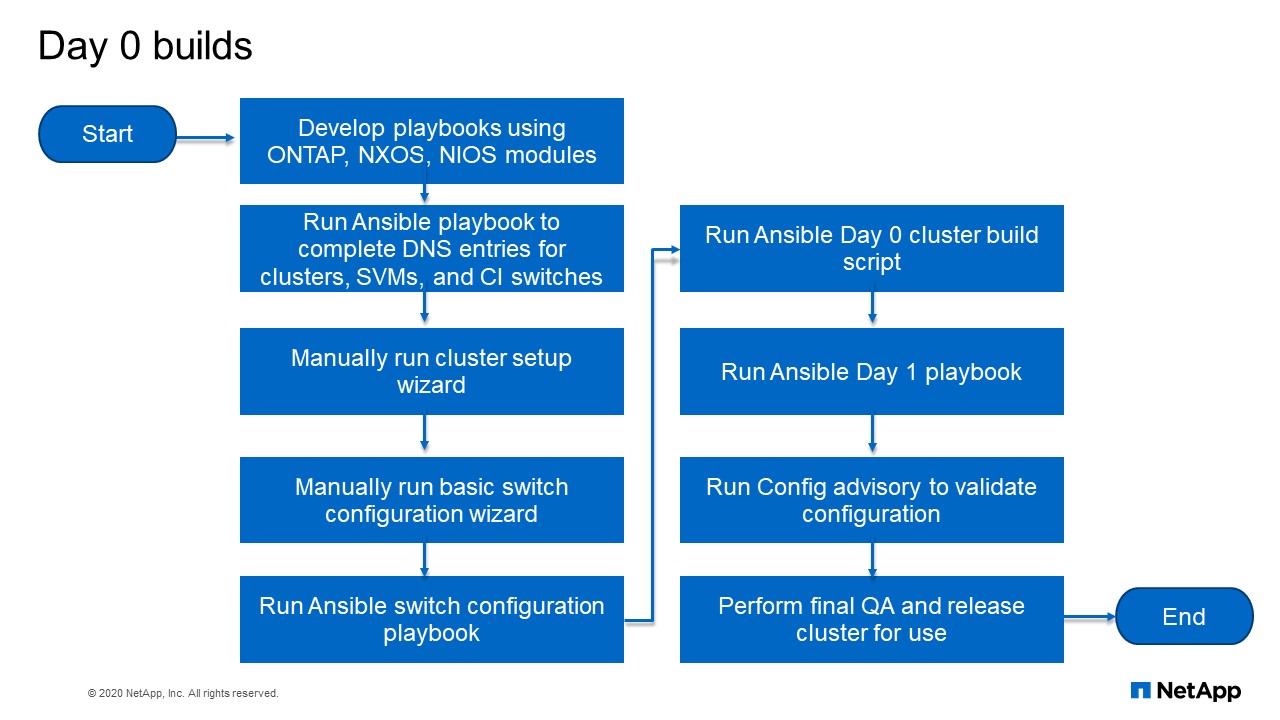
Day 0 builds
This flow chart explains how the whole process works. I consider start to be the day I ordered the hardware, because NetApp IT is Customer-1 and early adopters of NetApp technology and services, we follow the same process that customers do. In lieu of a NetApp salesperson, I specify all the hardware we need and order it. Once your order is placed, I develop my playbook for the automation that will occur once the hardware arrives. Just like I would do when preparing to do the configurations manually, I prepare by getting the IP addresses set up and lining up documentation. With automation I’m writing playbooks based on what I know has been ordered so that when it arrives, all I have to do is click “Go” once they’re racked and cabled. Once I’ve developed all my playbooks based on what I know was ordered, I can run the first playbook, which will create all of my DNS for all of my cluster management, for all of my SVMs, for all of my cluster interconnect switches. It will give me all of my IP addresses.
Once the hardware has been tracked and cabled is where Day 0 really starts. Once your system is powered on, I have to manually connect with the console, configure that first IP and create the cluster. That takes maybe about three minutes to do. I run that and it’s configuring. I do the same thing for the cluster interconnect switches. There’s the basic configuration you have to run that basically sets up your management IP and those things for the clustering interconnect switches. Once I have this, I can access them remotely. I then run the switch configuration playbook, and then the Day 0 playbook followed by the Day 1 playbook.
We run config advisory against all of our systems to make sure everything is configured properly and there no system errors or issues that we missed by manually looking over everything. We also have a checklist that is reviewed in a meeting with the team. In this meeting, we go through the checklist and make sure everything was done the way it’s supposed to be done. Then we do a little brief explanation on what the cluster is going to be used for, and then turn it over. This is the whole process of how we proceed to build a cluster that’s serving data and is ready for our users. Thanks for Q&A.
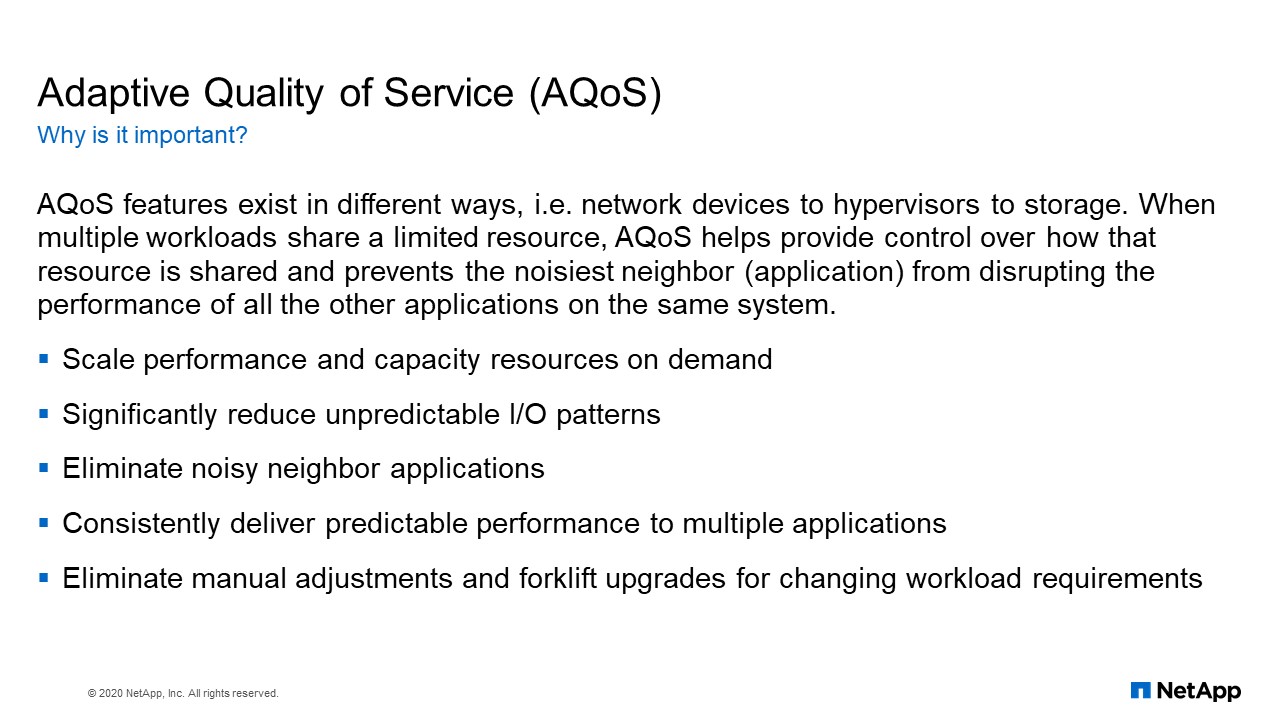
Adaptive Quality of Service (AQoS)
Victor Ifediora: Good morning, good afternoon, good evening. My name is Victor Ifediora. I am a storage engineer with NetApp IT. We manage all the internal storage used by NetApp and we are also responsible for doing automation. So today I’m going to be talking about some of the automation that we have done in NetApp IT using Ansible and the first one that I’m going to talk about is the adaptive quality of service, or AQoS.
When you have different application sharing the same resources, there is going to be contention, but if you want to guarantee each application’s performance, you can deploy adaptive QoS in your environment. Adaptive QoS will help you prevent bully applications from disrupting the performance of other applications.
Now, adaptive quality of service is defined in terms of what we call I/O density. An I/O density is measured by what we call IOPS per terabytes. The definition of I/O density is the measurements of I/O generated over a given amount of stored storage capacity and is expressed in IOPS per terabyte. So in other words, I/O density measures how much performance can be delivered by a given amount of storage capacity.
So if you really want to guarantee the performance of every application on a shared device, it will be a good practice to implement a quality of service. And like I said, quality of service is based on what we call I/O density.
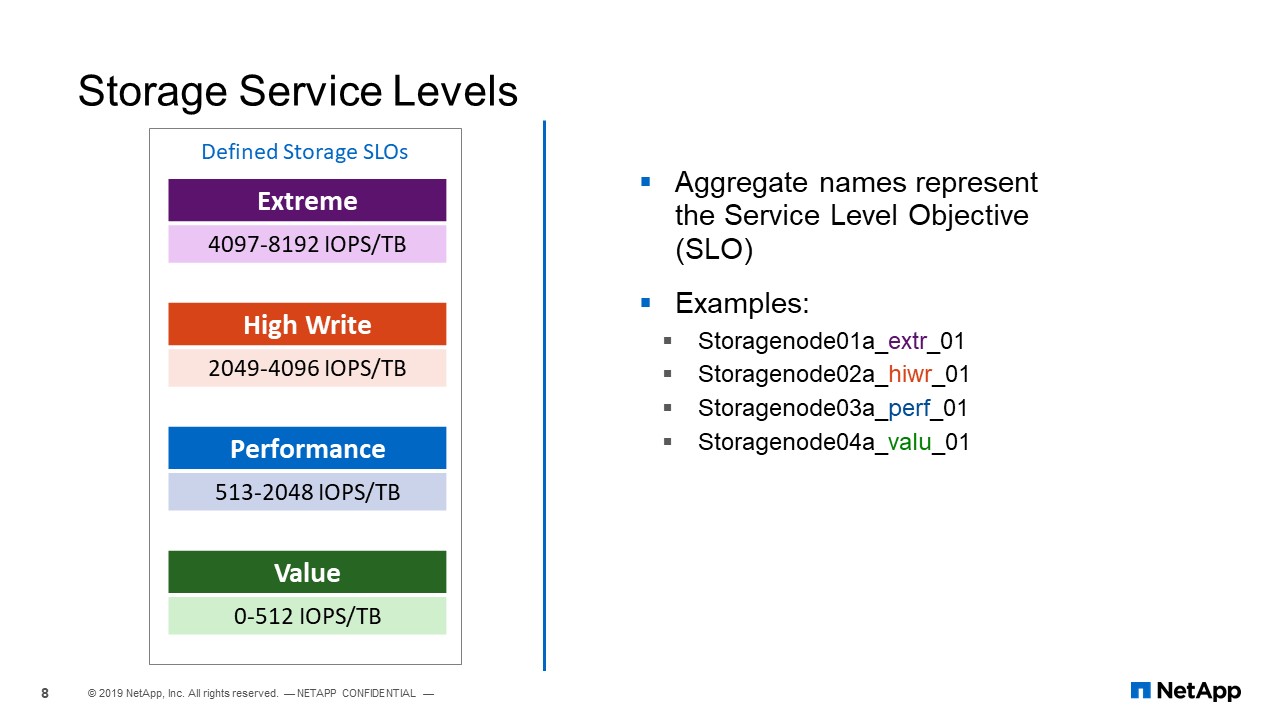
Storage Service Levels
In NetApp IT, we have a defined, what they call, storage service levels. One of our storage service levels mirrors how we build our aggregate. So, in our storage service levels, we have extreme and the I/O density for the extreme is measured from 4,000 to 8,000 IOPS per terabytes. Then this is for high write, this is for performance, this is for value.
Also, depending on the type of disc that we have used to view the aggregate, we have also tiered our aggregates. We have extreme, we have high write, we have performance, we have value. So when we viewed the automation, all the adaptive policy that we have created, we created it on each SVM. So we have for each SVM, we are going to have, or we already have, extreme, we have high write, we have performance, we have value.
So while during the process of assigning volumes to QoS policy the automation would check if the volume belongs to this SVM. And if the volume belongs to extreme aggregate, if the condition is true, it will assign that volume to the extreme aggregate.
AQoS policy
This is the flow chart for what we have done using Ansible. So the first thing we do is to define our maximum and minimum IOPS per terabyte for each of the service tiers that we have. Then we run a playbook that remove all the old policies across all the clusters. Then we run another playbook that creates every policy on each SVM. Then we run another playbook that assigns the QoS policy to volumes. Then there’s a cron job that runs every hour that checks whether new SVM, new volumes or whether a volume has moved in between aggregate and it will assign at the right QoS policy for that volume.
SVM provisioning automation
Another permission that we have done is we did an end to end SVM provisioning. So, in the past what we normally do is we open tickets to get an IP address and once we get that IP address, then we begin to do the provisioning, but now we don’t do that.
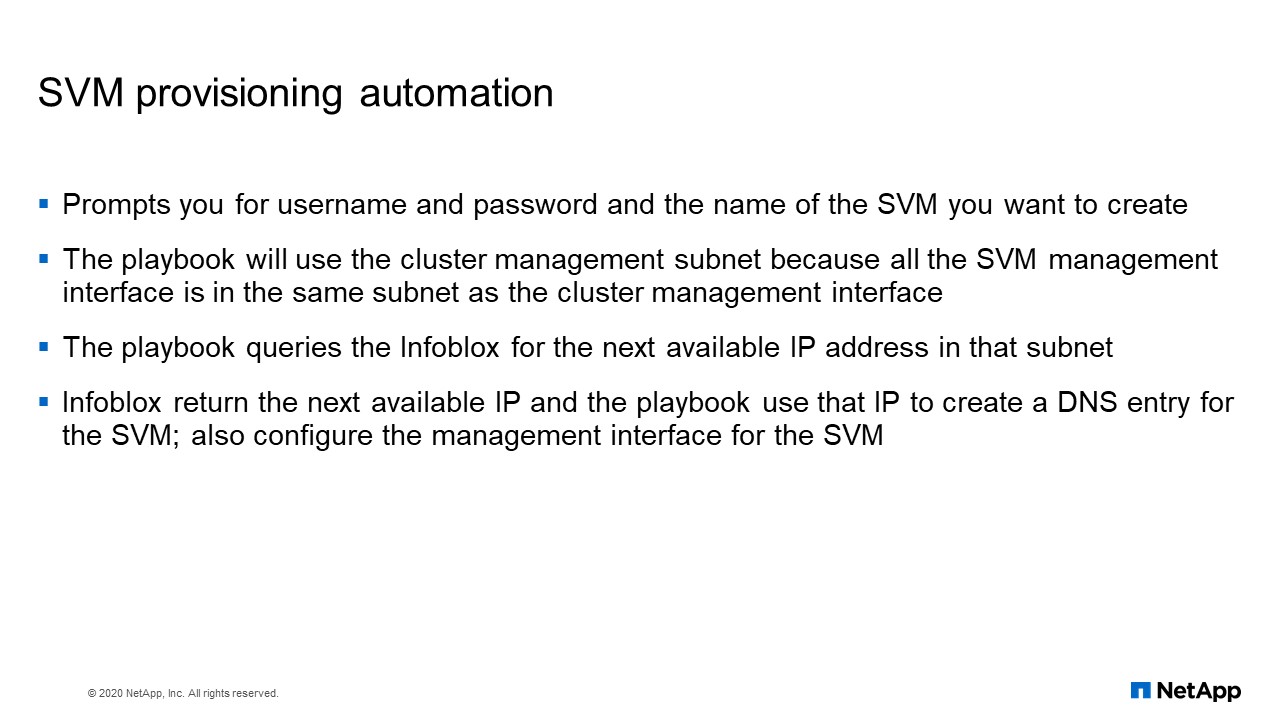
We have a playbook that will prompt you for the name of the SVM that you want to create. Then it asks you for the filer that you want to do storage, where you want to create the SVM, asks you for the username, asks for the password. And it will go ahead to create the SVM for you.
So how does it create the SVM? It uses the management subnets of the cluster. Once it gets the management subnets of the cluster, it will hand it over to Infoblox and Infoblox will return the next available IP to the playbook. And the playbook will register that IP in Infoblox and use that IP to configure the SVM on the cluster.
SVM provisioning automation flowchart
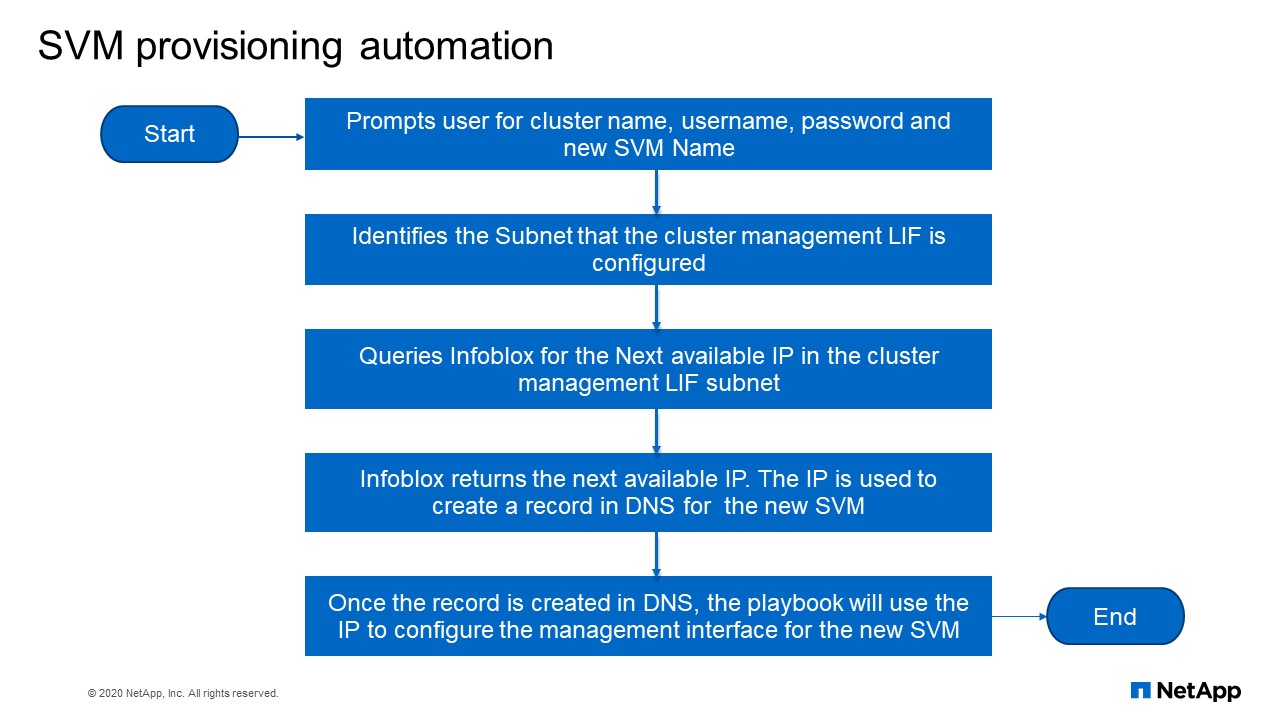
So this is how this works, so it prompts a user for the cluster name, for the username, password and the new SVM name that you want to create. Then it identifies the subnet that a cluster management LIF is configured. Then queries Infoblox for the next available IP in the cluster management subnets. Infoblox returns the next available IP, the IP is used to create a record in DNS for the new SVM. Then once the record is created in DNS, the playbook uses the IP to configure the management interface for the new SVM.
Enforcement of Snapshot policy automation
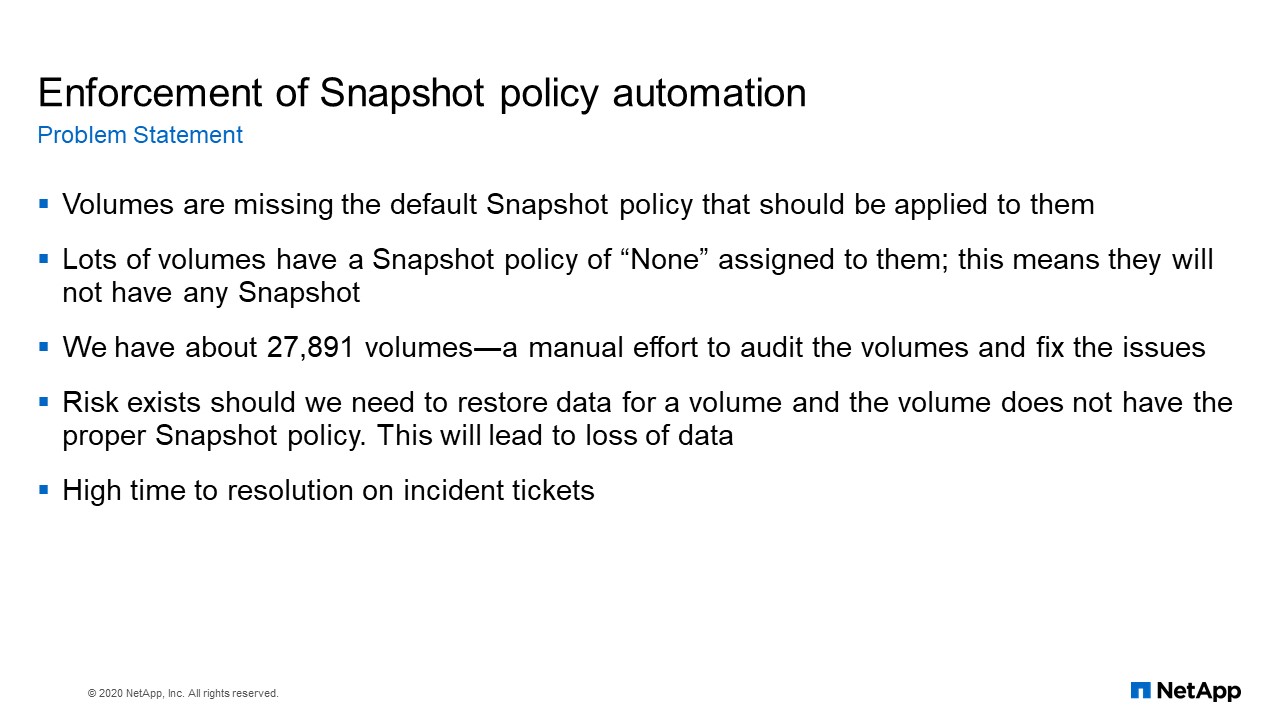
Another automation we have done in the environment is what we call Enforcement of Snapshot policy. We have a had a problem where, when an application runs into a problem, a file is corrupt. We find that there is no Snapshot on that particular volume. So, because of that, we decided to create an automation that will enforce a Snapshot policy on every volume.
Now what this automation does, is that because of the way we measure our volumes. Our volumes then have a pattern, so this automation can identify which volume is a database volume, which volume is a VMDK volume, which volume is an ordinary safe volume, and it will assign the appropriate Snapshot policy for that particular volume.
And this has also saved us time in tickets because it has reduced the number of tickets that we have. Then also in our environment, we have almost 28,000 volumes so doing it manually to identify which volume has Snapshot policy or not would take us a very long time.
What does it do?
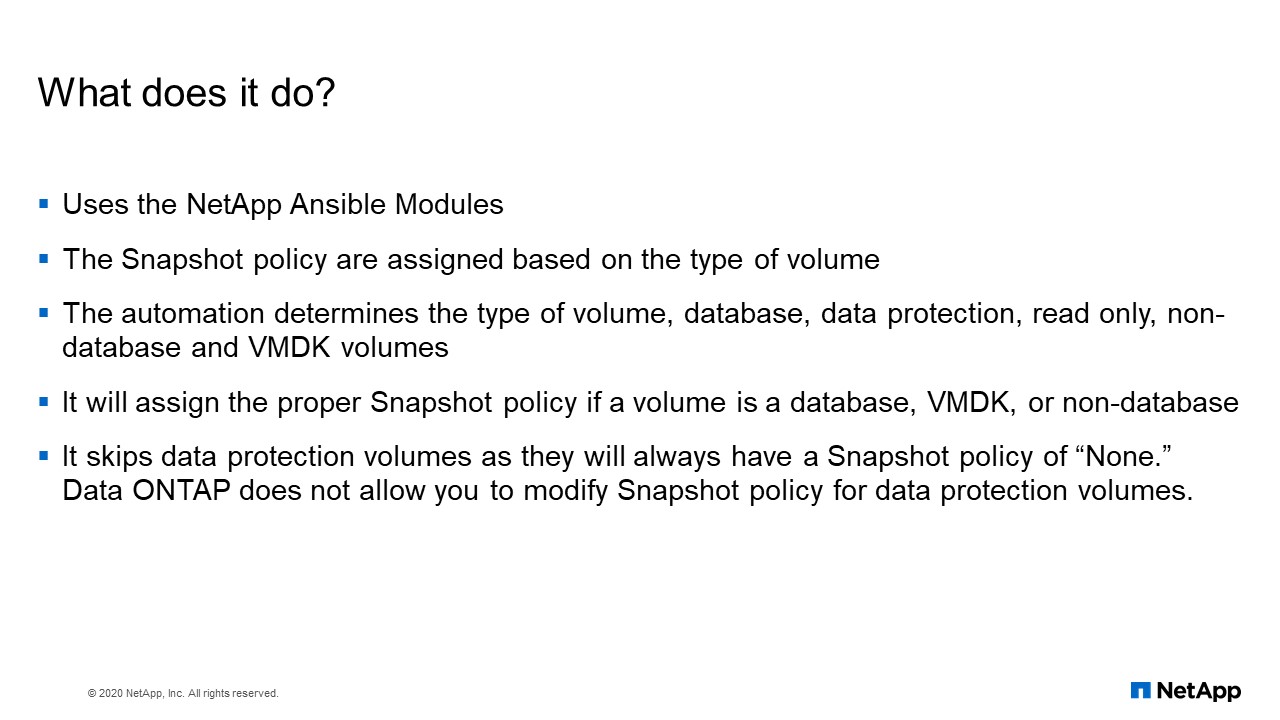
So this automation also uses a NetApp Ansible Module. The Snapshot policy assigned based on the type of volume. Like I said, it knows if a volume is database, if it’s data protection, read only or non-database or VMDK volume. It identifies the type of volume, it will assign the appropriate Snapshot policy for the particular volume.
Enforcement of Snapshot policy automation flowchart
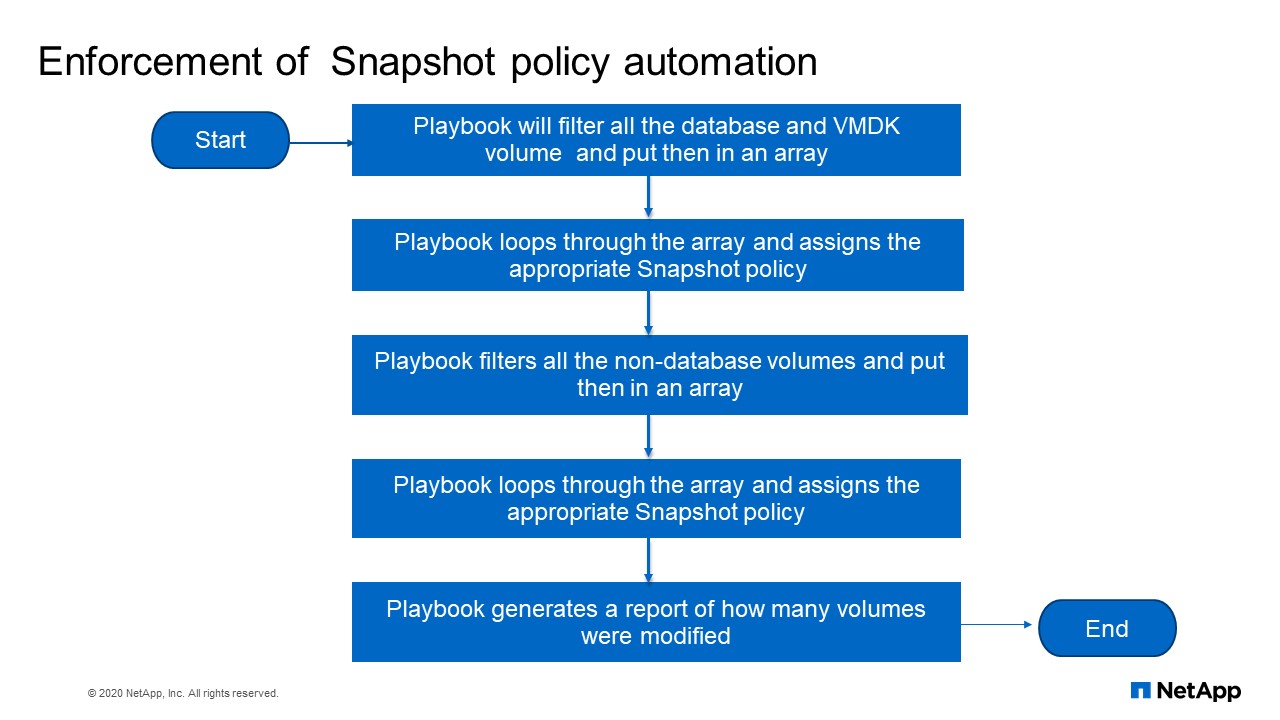
So here the playbook will filter all the database, VMDK volume and put them in an array. It loops through the array and assign the appropriate Snapshot policy. Playbook filters all the non-database volume, put them in an array, loops through them and assign them policy and it will generate a report of how many volumes were modified.
Results
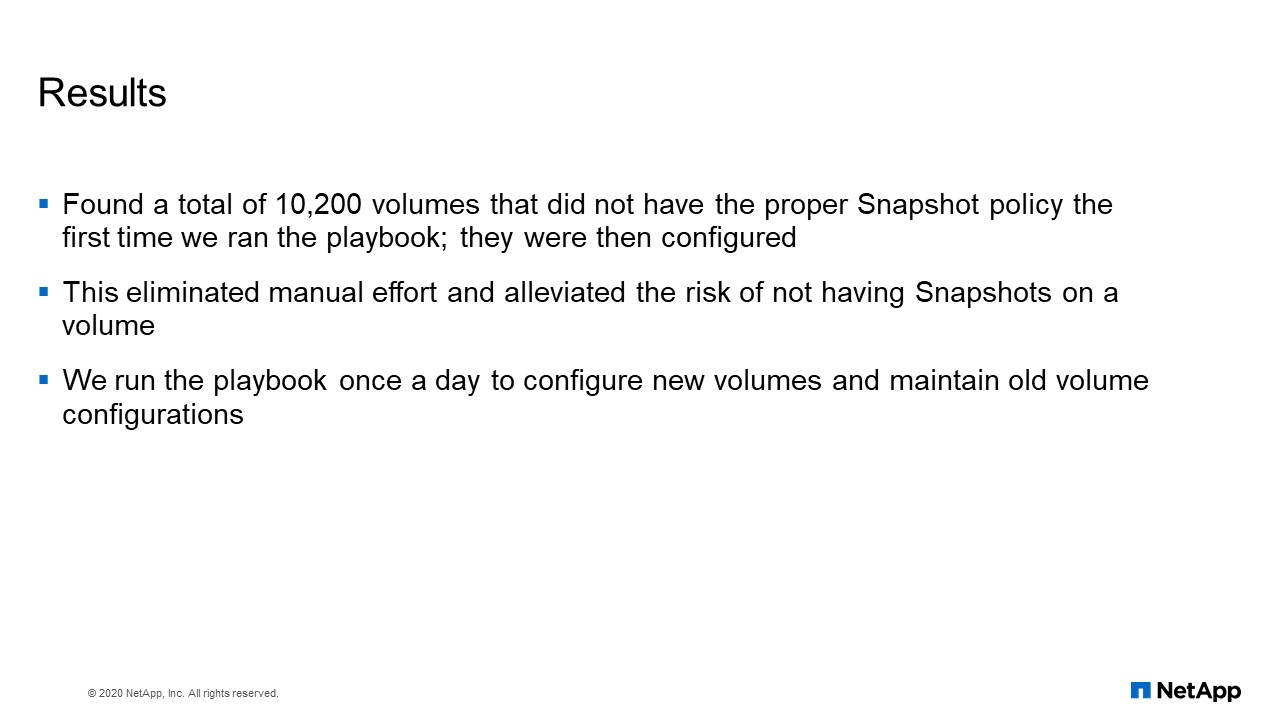
The first time we ran this playbook, we found out that 10,200 volumes did not have the proper Snapshot policy that they are supposed to have. This automation alleviated a lot of manual effort and also alleviated the risk of not having Snapshots on a volume. We run the playbook once a day to configure new volumes and maintain old volume configurations to ensure that all our volumes have the proper Snapshots.
Q&A
Inode automation
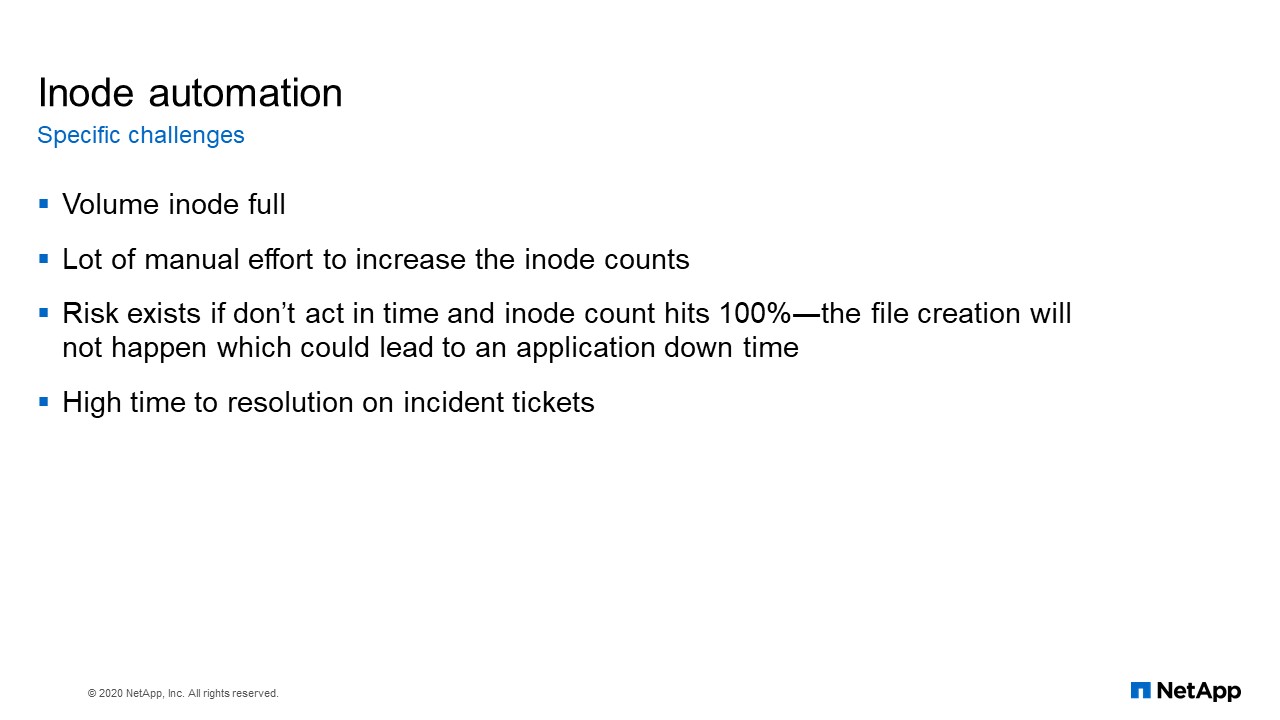
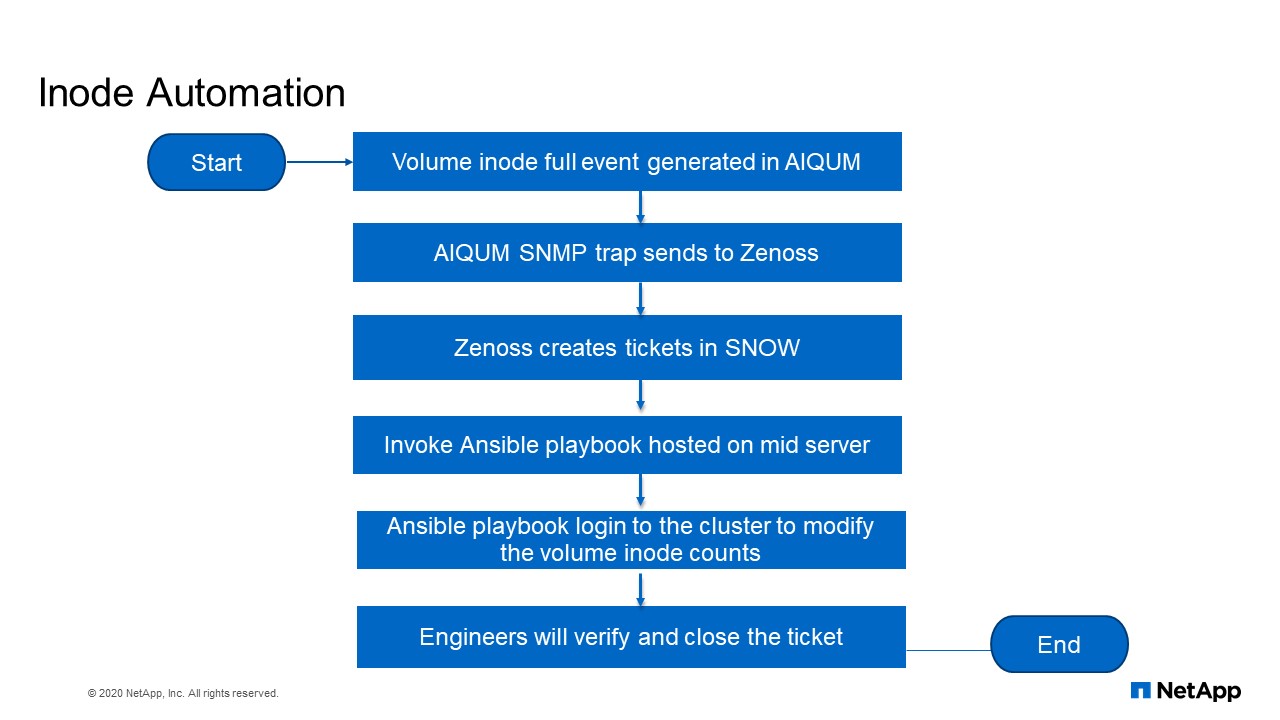
In NetApp IT, we use Active IQ Unified Manager to monitor our storage. Active IQ Unified Manager formerly known as OCUM, or OnCommand Unified Manager. Most times we get on our labs a warning when inode reaches certain threshold and also sometimes the operation team misses their lot and before we know it, the inode volume is 100%, and because of that, the application will not be able to create any more files on that particular volume, causing application down time. Because of that, we came together and developed inode automation that will automatically increase inodes on the file when the file reaches a certain threshold, so increases by about 10%. This has been of much benefit to us and to the operations team.
What does it do?
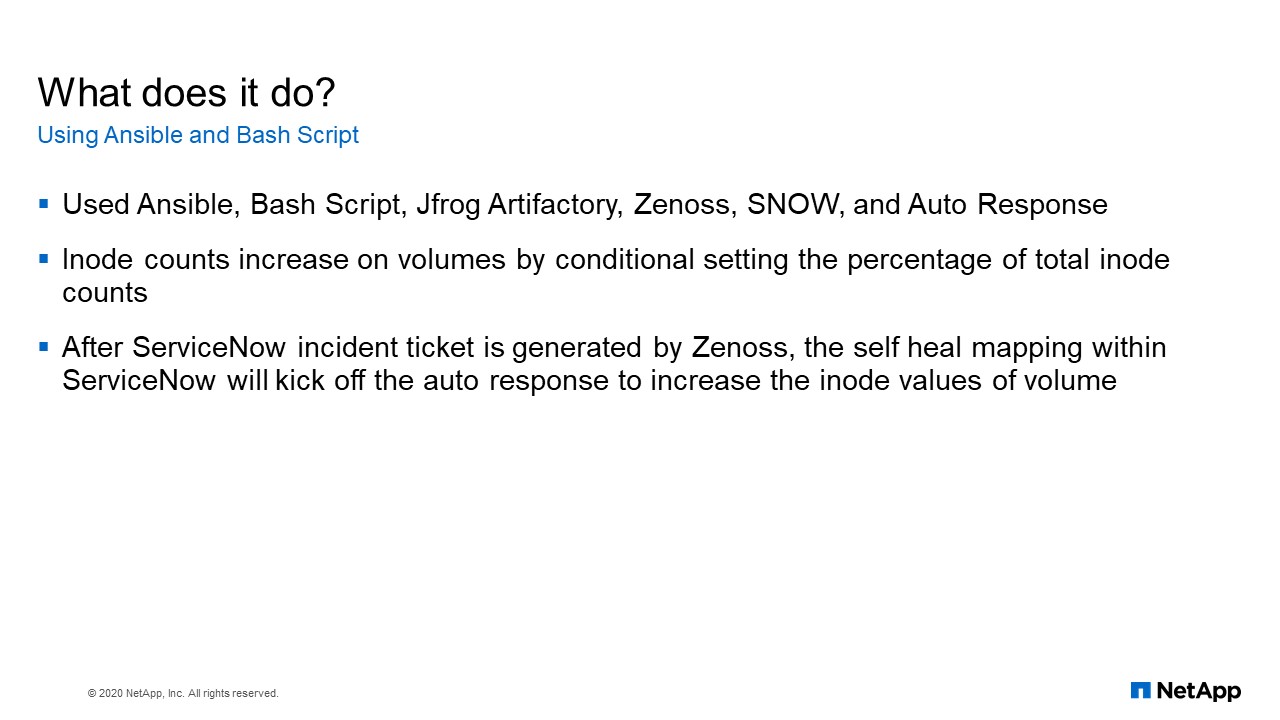
Now for this automation, we also use Ansible. We use Bash script. We use a JFrog Artifactory. We use Zenoss. We use SNOW and we use Auto Response. So this is a kind of an end–to–end automation.
Like I said from the beginning, when we monitor our storage with Active IQ Unified Manager. When an inode event occurs Active IQ Unified Manager will send a trap to Zenoss and Zenoss will go to SNOW and create a ticket. Now the question of the ticket will trigger an Ansible playbook. That also triggers, the Auto Response. So what the Ansible playbook does is it will get the volume name, the size of the inode, from the tickets that is open in ServiceNow and it will use the information there with Auto Response to go and modify the inode on the storage. Then after modifying the, inode it will automatically close the tickets and will notify the storage engineer and the engineer will just go and check to make sure you know that everything was done right.
Inode Automation flowchart
Now this is how this automation happens. Volume inode full event is generated by Active IQ UM it will send a trap to Zenoss. Zenoss creates a ticket in ServiceNow. Now, that ticket invokes Ansible playbook hosted on another server, then the playbook will log into the cluster to modify the volume inode counts. And the engineer, our operational team will verify and close the ticket.
SnapMirror Clean-up automation
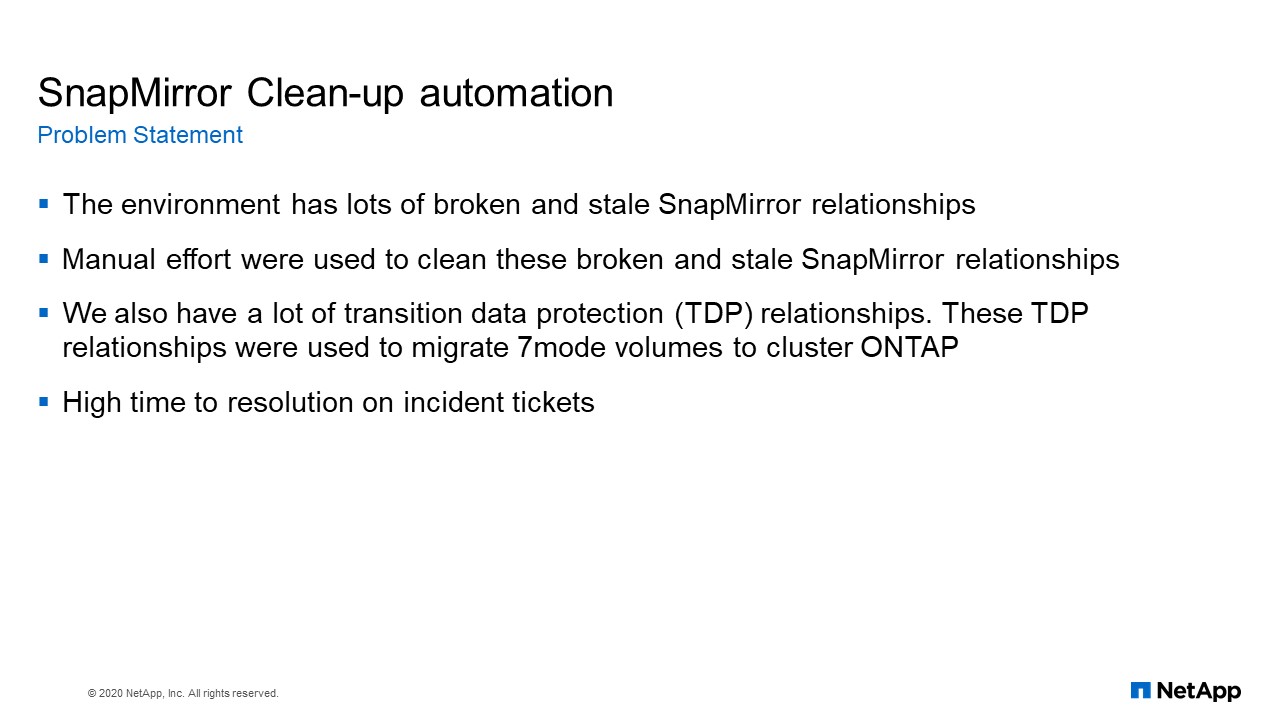
Another automation that we have done also is this SnapMirror Clean-up automation. We’ve done a lot of migration from 7mode to CDOT. The last of our migration was done from 7mode to CDOT was done on Friday the 12th. What we have noticed is that there is a lot of broken and stale SnapMirror relationships in our environments. Normally we use manual effort to clean up the broken stale SnapMirror relationship. We decided to develop an automation that will help us do the cleanup.
What does it do?
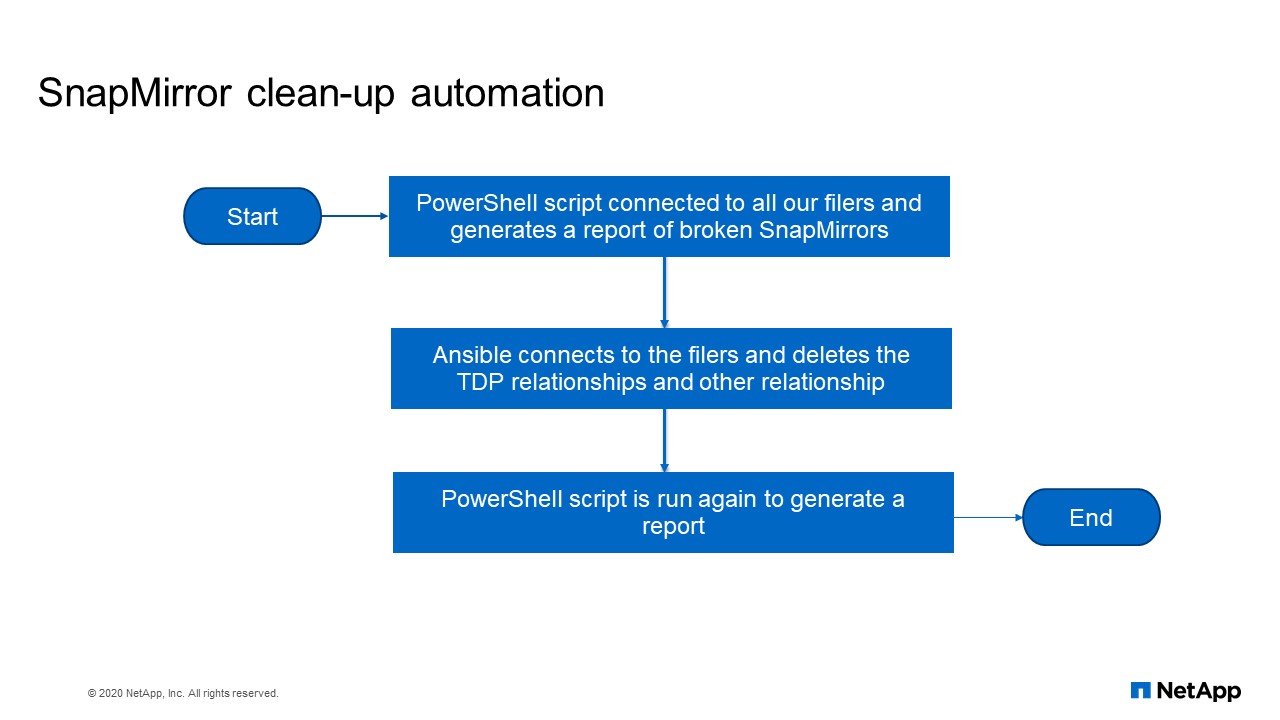
This automation purely uses just Ansible and PowerShell. So what a PowerShell simply does is just generate a report of all broken and TDP relationship via an Excel file. Then the Ansible module is used to clean up all the TDP relationships. The logic is based on how long the relationship has been broken. The Ansible model is used to clean up the broken relationships that are not TDP.
SnapMirror clean-up automation flow chart
This is the flow chart. PowerShell script connects to all our filers and generates a report of broken SnapMirrors. Ansible connects to the filers and deletes the TDP relationships and other relationships. PowerShell script is run again to generate a report.
Results
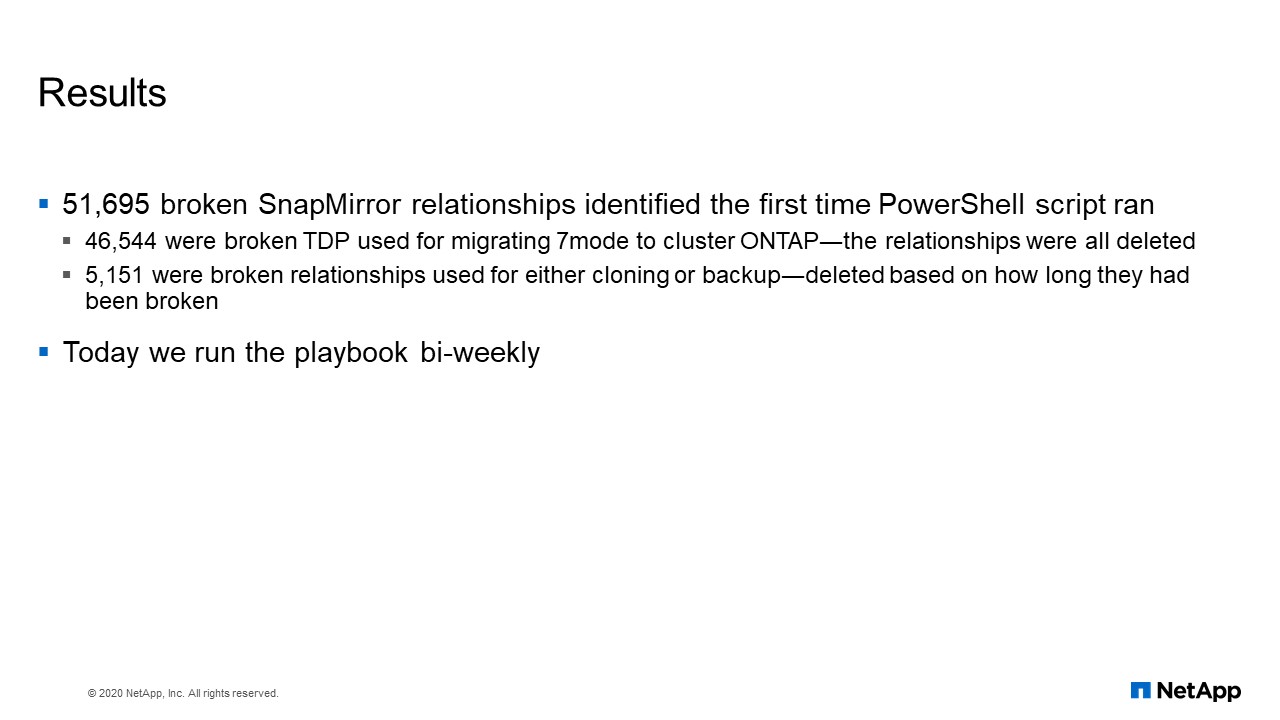
In our volume, we had a 51,695 broken SnapMirror relationships identified the first time the PowerShell script ran. 46,000 were broken TDP used for migrating 7mode to cluster ONTAP and 5,151 were broken relationships used for either cloning or backup, deleted based on how long they have been broken. Today we run the playbook bi-weekly.